
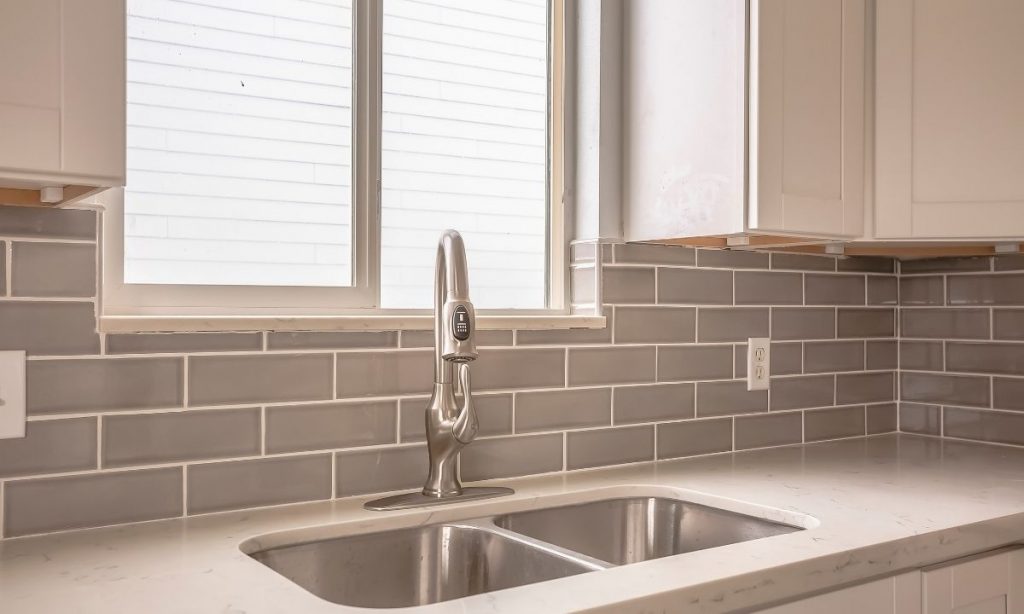
There is another variation of undermount sinks, and these are referred to as drop-in undermounts. The drop-in is more user-friendly, less expensive and may require a recaulk from time to time.
Table of Contents
What you will need to install an undermount sink:
Tools
- Undermount kitchen sink (duh)
- Sink drain
- Drill with 1/16" masonry bit
- Levelling compound
- Bowl-shape marker & pencil
- Painter's tape
- Tape measure & ruler
- Wood shims
- Rubber mallet
- Knife-Utility
- Scraper
Material supplies
- Cleaning gloves
- Cleaning agents
- Cleaning rag
- Epoxy
- Silicone sealant
- Bucket

Steps to install an undermount kitchen sink
Step 1: Turn off your water supply
Disconnect your supply lines, which will carry the water to and from your sink. If they are not already labelled, you can track them back to where they connect with a stud finder by searching for their metal tabs in the wall.
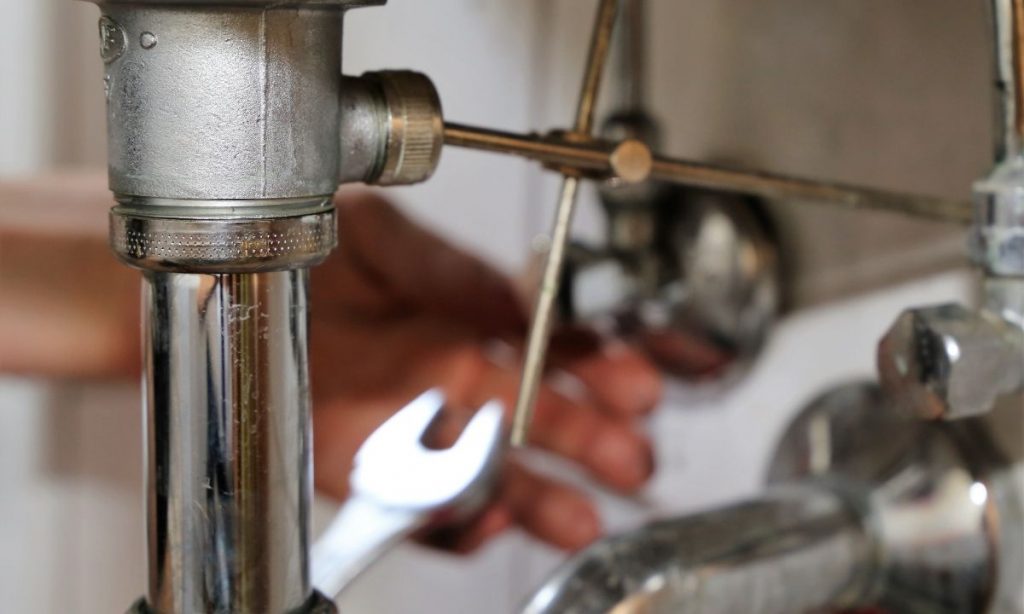
Remove the caps from each supply line connection, then unbolt the nut. Some connections require an adjustable wrench, others can be loosened with a pair of pliers. Use caution not to damage supply lines when removing them.
This can be messy if you do not know how, and where to turn the main incoming water supply off. If in doubt, you could always contact a professional plumber to assist you.
Step 2: Prepare your drywall for sink install
You will need to cut a hole in your countertop large enough for the sink flange. If you have metal studs, use a 1/16-inch masonry bit or carbide-tipped drill bit to make a pilot hole through them first. If not, mark where all of your studs are with a bowl-shaped marker and pencil and use a stud finder to mark the metal plates. With your markings complete, centre your sink flange inside them and trace around it for your hole.
Use caution when cutting outside the lines as you will need just enough room to fit the shims that hold your sink in place. Some undermount sinks have clips that attach directly to your countertop instead of a flange, in which case you will not need to cut out a hole.

Step 3: Fasten the sink flange
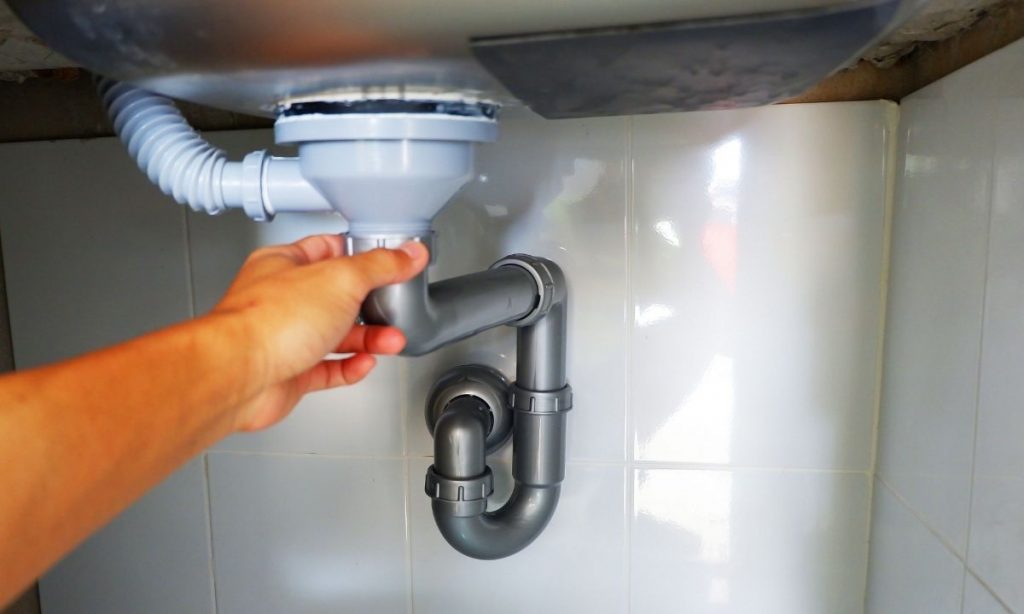
Step 4: Attach the drain assembly to the sink's tailpiece

Step 5: Attach the tailpiece to the underside of your countertop
Step 6: Slide and attach
Slide the drain nut over the end of your tailpiece until it rests against the underside of your countertop. Position the nut so the flat side is facing up and tighten it by hand until it is secure. If you have a pop-up drain assembly, place the U-shaped part in your sink’s opening and thread the nut onto the tailpiece inside the sink ring.
Slide an aerator adapter over your faucet shank and thread on a colander strainer. Screw the faucet onto your supply lines and tighten with adjustable wrench or pliers if needed. Attach your supply lines to the underside of your countertop, then turn on the water supply valves for a test run.
Step 7: Finishing touches
Once you’ve confirmed that everything is working properly, unplug your water supply valves and place the decorative cover plates onto your faucet. If you’re installing a garbage disposal, now is the time to do so as well. Turn your water back on at both valves then connect your dishwasher or other appliances to complete installation.
That’s it! You now know how to install an undermount kitchen sink.

Steps to replace an undermount kitchen sink
-
Step 1
Unwrap your new sink and have it ready for installation by removing any protective stickers or materials on it.
-
Step 2
Remove your existing sinks by turning off its water supply valves and disconnecting its drain lines from the trap.
-
Step 3
Gather your tools and locate all of the tools you will need before removing it from its space. You will need a pair of adjustable wrenches or pliers, a marker, a utility knife, a bowl-shaped marker and some screws to help hold the sink in place while you disconnect it from the flange on the underside of your counter.
-
Step 4
Disconnect the sink flange by unscrewing the nuts holding it in place with your adjustable wrenches or pliers, then remove the drain assemblies and pop-up drains.
-
Step 5
Remove the faucet assembly by loosening any connections at its joints with an adjustable wrench until everything is disconnected.
-
Step 6
Carefully lower your old undermount sink to the countertop below and remove it from the space.
-
Step 7
Attach a new sink flange by aligning its holes with those in your counter top, then using 1/4-inch screws to attach it from beneath the countertop. Alternatively, you can use bolts to attach a sink ring to the underside of your counter, but you will need access from beneath your countertop for this option.
-
Step 8
Slide the new undermount kitchen sink into its space and centre it, then lower it onto the flange until it is even with the counter top around it. Attach the drain assemblies and pop-up drains back into place.
-
Step 9
Attach your faucet assembly to the new sink and tighten with adjustable wrench or pliers if needed. Turn on the water supply valves for a test run.
Final thoughts
Replacing an undermount kitchen sink is a relatively simple job. Since the sink sits flush with your countertop, it can be difficult to determine where exactly to drill drain assembly holes in your work area. Be sure to check manufacturer’s instructions as some require you put the drain assembly hole more than 1/4-inch away from the edge of the sink. If you have the correct location, use a marker to trace around your drain assembly for reference before installing it.
Connecting water supply lines is even easier than removing an existing sink. However, some undermount kitchen sinks do not include all of the necessary installation parts, so be sure to check the condition of your old sink and any extra parts that came with your new model.
When you’ve finished installation, turn your water supply valves back on and cross your fingers for a successful kitchen sink replacement!