
Using good quality when you install laminate flooring in a bathroom, is always a great idea. It is easy to maintain and very durable. You can tile a wall or use a wood lining, but using laminate will give you the same look at a much lower cost. A lot of people have been doing this lately because it’s so practical, and it looks fantastic.

If you want to have a bathroom with laminate flooring, there are a few things you should know before you get started. This type of flooring is sensitive to sudden changes in moisture levels. Moisture can cause the wood to swell or warp, which can ruin your hard work and leave you with an ugly mess.
Consider these before you install laminate flooring in a bathroom
- When purchasing laminate flooring for the bathroom, make sure you purchase a "water-resistant" laminate. This type of laminate has a moisture barrier that protects it from fluctuating humidity levels because laminate flooring is sensitive to sudden changes in moisture levels. Hence, it will buckle if it does not stay at a consistent level of humidity.
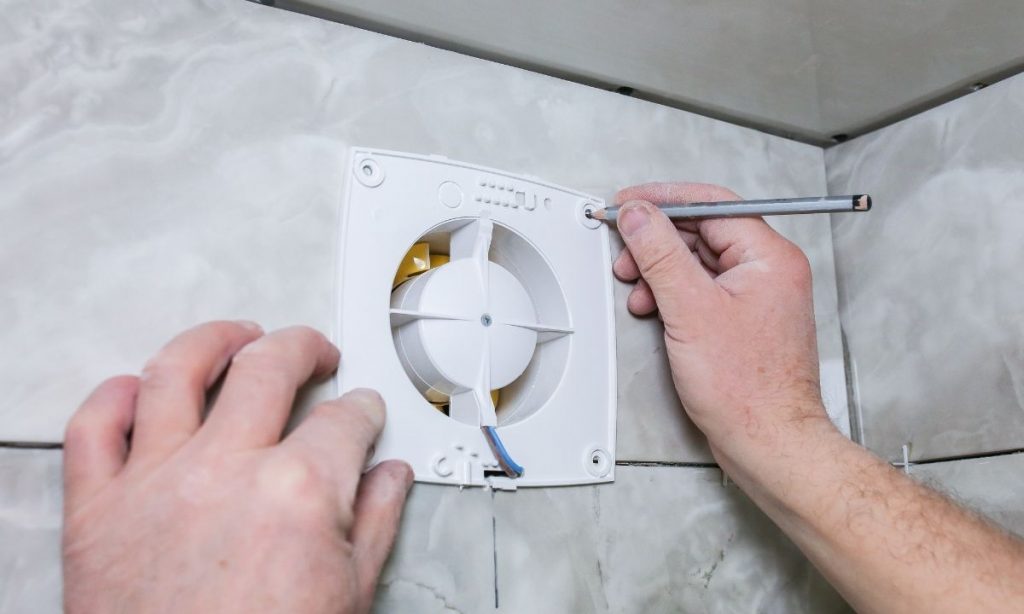
- If you are building your bathroom as entire room will need to have ventilation built into the design. Basements are ideal because they are naturally damp. The ventilation should be vented through the exterior of your home or through an existing wall, but not into your attic.
You should consider installing bathroom ceiling fans, these are great for ventilation control.
- Your subfloor should also have a moisture barrier, like plastic sheets or tile backer board, before you plan installing laminate flooring. This will aid in protecting the wood from becoming moist and swollen, and thus needs to be water-resistant as well. You can use plywood, a concrete board product called Wonderboard, or a waterproof sheet material.
- When Installing laminate flooring, remember to do so with a "click-lock" system. It is the most water-resistant option and it's also fairly simple to install. If the wood is not locked in place with a click-lock it will easily buckle and then you might as well scrap your project.
- The flooring should also be locked together at the seam meeting point to provide a good seal. If there are spaces, especially around the perimeter of the room, then it must be sealed with suitable laminate sealant to prevent moisture from entering these areas.

- Avoid using cleaners with bleach or ammonia when cleaning your laminate flooring, as this will eat away at the protective coating. Use cleaners that are mild and slightly acidic (about 7 pH). Stone cleaners, for example, are perfect for cleaning laminate flooring.
- Laminate flooring is great in dry climates, but it's impractical in wet climates like Florida or California. The wood will swell and buckle if the humidity levels are high enough to cause this effect. If you live in a damp climate you should use tile or stone instead, as it will not be practical to install laminate flooring in a bathroom.
- Make sure that your bathtub and toilet are not directly on the laminate flooring or they will warp it. Instead, use a moisture barrier in between the floor and these fixtures to protect it from sweating and seeping water. The best way to do this is to raise the fixtures up by using a wood base or adding legs.
How to install laminate flooring in a bathroom
-
Step 1
Remove the baseboards, door casings, and molding from around the perimeter of your room.
-
Step 2
Remove any moisture barrier or tiles that are already on the floor. Don't forget to remove the threshold at the outside of your bathroom if there is one installed.
-
Step 3
Use a hammer to break up any tiles and remove them from the floor. If there is a moisture barrier, cut it with a utility knife to remove all parts of it from the room.
-
Step 4
Measure and mark boards to size with a pencil so that each board extends off one wall enough to allow for "click-lock" installation into the next board. Cut boards with a wood saw.
-
Step 5
Use an adhesive to apply a moisture barrier or tile backer board to the subfloor in between each row of boards. It will protect against swelling in humidity levels and help keep the floor flat when installing laminate flooring in the bathroom.
-
Step 6
Ensure that there is enough space at the corners so that you can "click-lock" the boards together at a 90-degree angle.
-
Step 7
Keep the "click-locks" facing toward the inside of the room so that they don't protrude from under your bathroom cabinet or vanity.
-
Step 8
Apply adhesive to the top edge of each board and then click them into place on one wall.
-
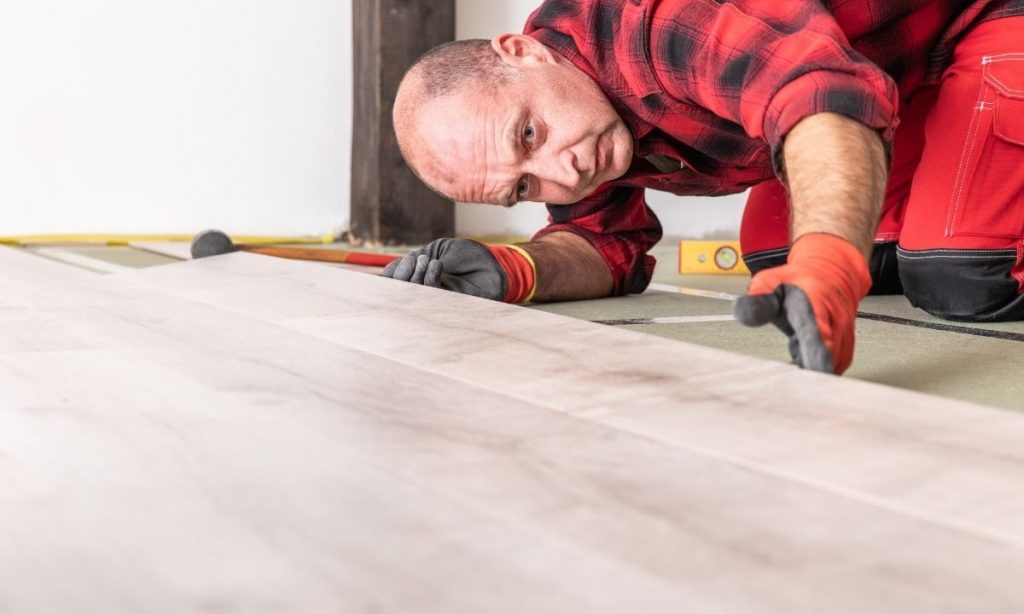
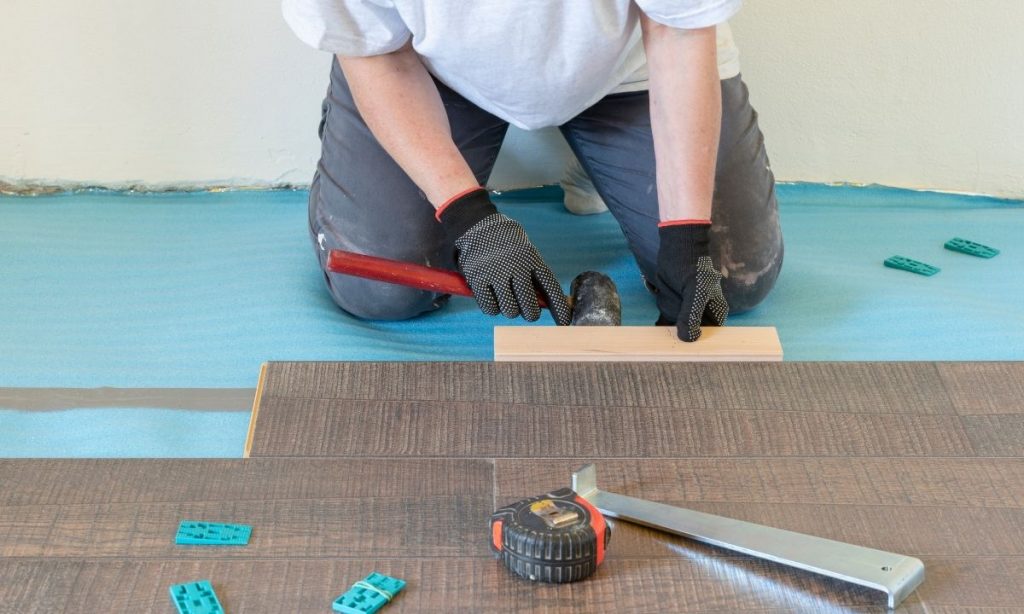
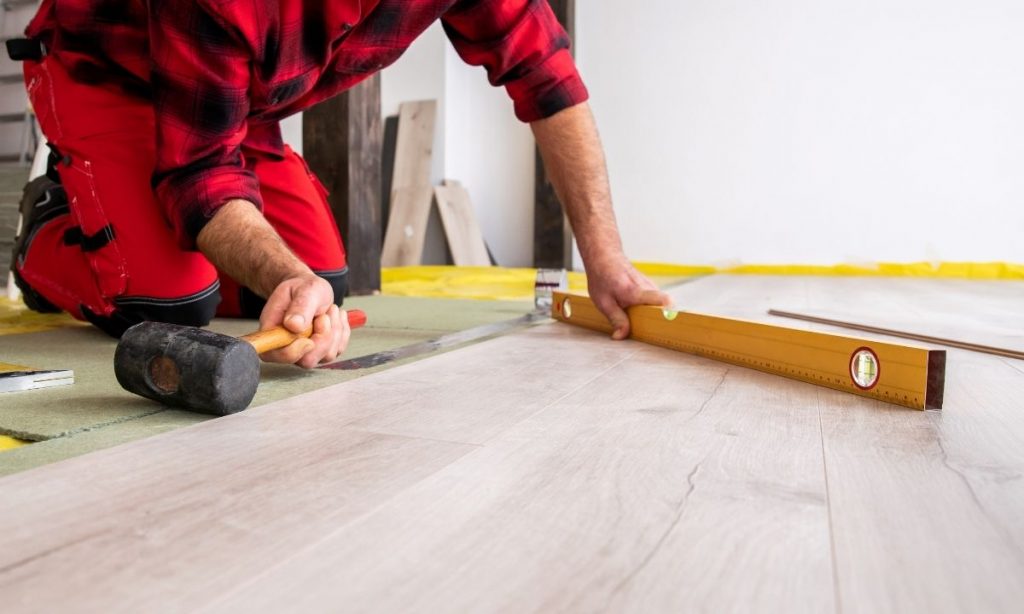
Step 9
Use a tapping block and rubber mallet to ensure that all boards are flush with the wall and adjacent boards before using any adhesive or "click-locks."
-
Step 10
Continue installing your laminate flooring in bathroom until you've reached the last board. Allow adhesive 24 hours to dry before walking on it. Sand seams if needed with fine-grit sandpaper (220) until they are completely flush. Apply sealant or polyurethane (3 coats) according to the manufacturer's recommendation to finish the project.
Frequently asked questions:
1. Can you laminate flooring over tile?
It is not advisable to install laminate flooring over tiles. If the tiles are not removed first, your laminate will buckle and warp. You can try removing the tiles from around the perimeter of your room to expose a little bit of subfloor that is not touching the walls.
Then just use a moisture barrier or backer board in between each row as you install wood laminate flooring in the bathroom.
2. How do I remove adhesive from laminate flooring?
Try removing any excess glue with mineral spirits. Again, test it first on an inconspicuous spot to ensure that it doesn’t damage your laminate flooring. You can also try using a little bit of dish soap or a degreasing dish detergent.
You can also try using a gentle, non-ammonia glass cleaner to remove adhesive from laminate flooring as well as any other household surface.
3. What tools will I need for this project?
You will need a hammer, saw, pencil, straight edge or yardstick, utility knife, measuring tape, chisel or scraper for the tile adhesive, moisture barrier or backer board, adhesive, tapping block and mallet, wood glue (if applicable), fine-grit sandpaper (220), mineral spirits (for removing excess adhesive), dish soap or degreasing dish detergent for laminate flooring.
4. Which direction to lay laminate flooring?
Lay your laminate flooring in the bathroom with the pattern running parallel to the longest room dimension. This will create a cohesive look and avoid exposing joints at doorways and walls.
Final thoughts
The aim of this article was to provide you with practical and simple tips to help you install laminate flooring in a bathroom. Hopefully we have achieved this, and have you enjoy your new flooring.